Manicure Basics
I thought I would start my Mani Monday series with a few Manicure Basics. As I said before, as busy women time is often limited and the only option is a DIY home manicure! To do this properly you need the correct tools and products!
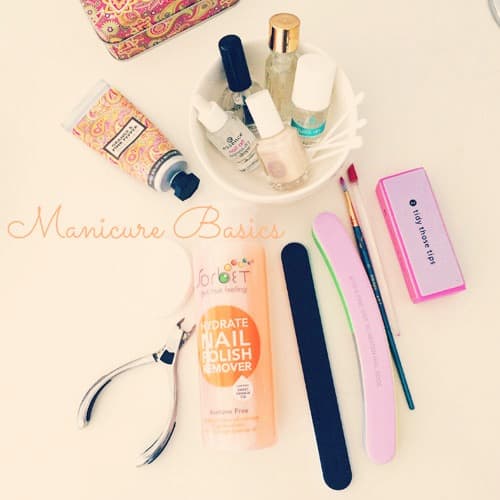
Below you will find the tools and products, which I consider to be Manicure Basic Essentials, most of them inexpensive drugstore products, as well as a few tips on how to keep your nails looking awesome! I will also include a video I did last year featuring DIY manicure and pedicure essentials.
Scrub ~ As part of my weekly nail and hand maintenance I use a scrub. You can use one specifically for hands but I tend to use whatever body scrub I am using and do it as part of my shower routine. Scrubbing essentially gets rid of any dry skin and leaves your hands lovely and smooth! If you prefer not to do this in the shower, then soak your hands in warm water before you scrubbing them. Rinse and towel dry before you begin the rest of your manicure. {I am often too rushed, which is why I do it in the shower.}
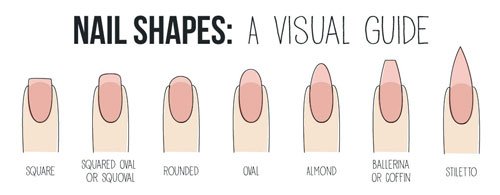
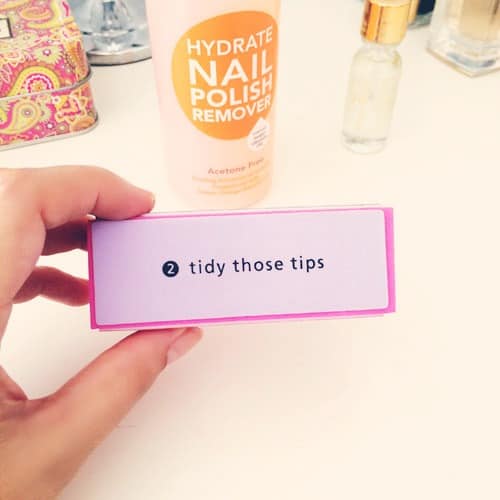
Filing and Shaping ~ As with most things in life, nail shape is very much personal preference. I was advised many years ago not to cut my nails but to only file them. The reason I was given is that cutting them affects the nail integrity and tends to weaken your nails. Whether this is based on fact I am not too sure but I have very strong nails so maybe the is some sense in this! At this point you could use nail clippers or nail scissors, if you cut your nails or alternatively use an emery board to shape them. I prefer my nails to be more of a squared oval shape{squoval} and I like them quite short but as I said the shape is up to you! File your nails from the sides towards the center and not back and forth across your nail.
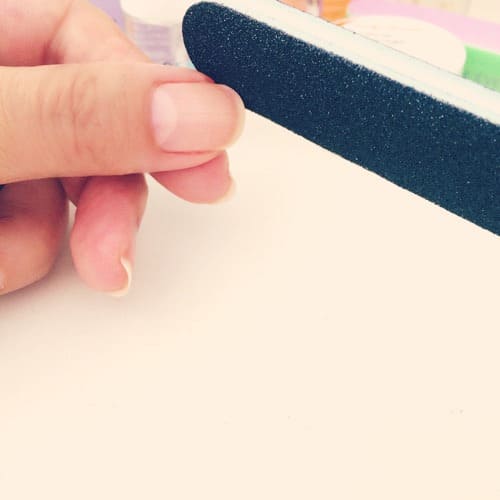
Buffing ~ Once you have gotten the shape you like, tidy the ends and lightly buff your nails, to get rid of any old polish residue and or ridges. Do not over buff because this can weaken your nails. There are quite a few different products on the market for smoothing and buffing nails but I prefer the block style one above, which is from Clicks. At this point wash your hands to get rid of any filing dust.
Cuticles ~ I like to spend a bit of time on my cuticles because lets face it nice cuticles make nice nails! Think of cuticle maintenance as three-step procedure. 1st Push-back your cuticles using a cuticle pusher{you can apply a cuticle remover or softener first but with regular maintenance your cuticles should remain soft and pliable} I like to use a cuticle pusher with a soft end, as it is more gentle on your nails and cuticles. 2nd Very carefully trim any loose pieces of skin from your cuticles, using a cuticle nipper, being very careful not to nick yourself.
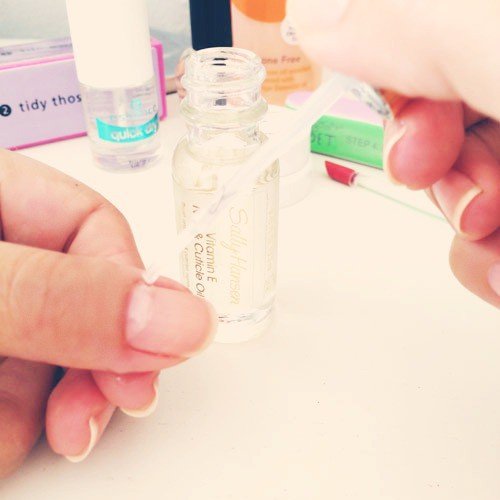
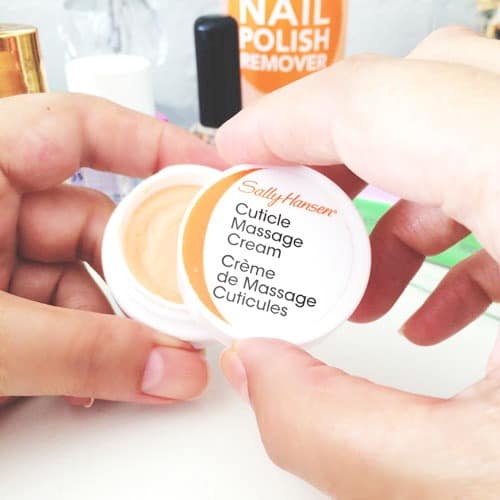
3rd Rub either cuticle oil or cream into your cuticles to sooth them. Follow these steps once a week to ensure lovely soft cuticles!
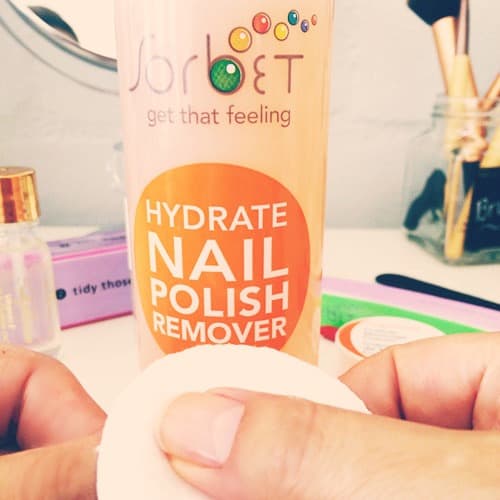
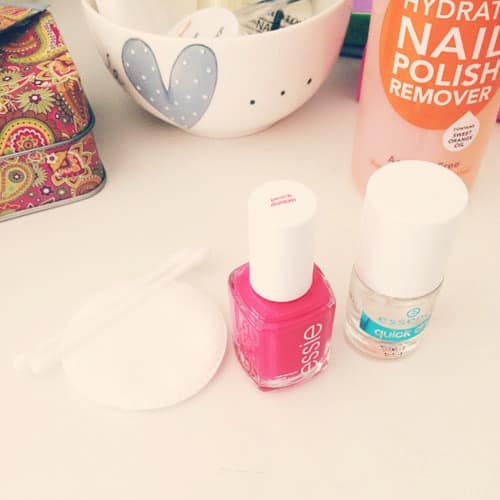
*HOT TIP* Clean Nails ~ Once you have finished pampering your nails, use nail polish remover on a cotton round, to remove any oily residue before applying a base coat. You could simply skip this step, if you are leaving your nails bare and simply apply a good quality hand cream.
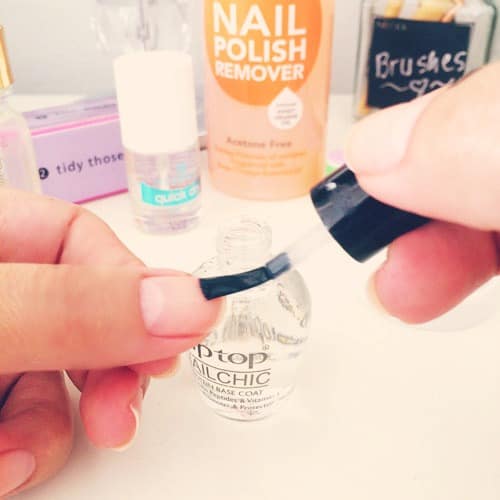
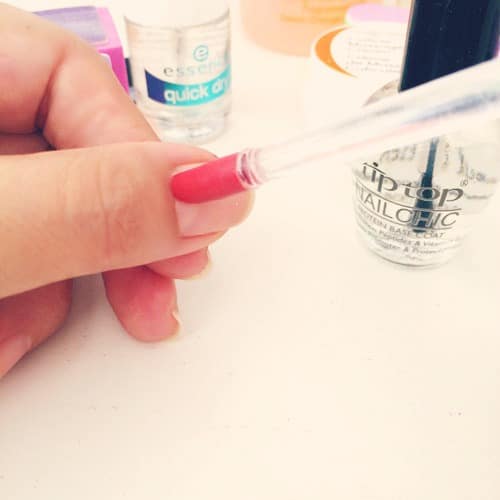
Base Coat ~ The main reason I use a base coat, is to help protect may nails, it prevents dark colours from staining your nails and helps my nail polish last that much longer. It also gives polish an even surface to adhere to. There are so many base coats available and you can feel a bit like a dear caught in the head-lights trying to pick one. The best way to choose, is to assess if you have any major issues with your nails. Ask yourself a few questions: are your nails brittle and always breaking – then using something strengthening would be advised, do your nails tend to yellow from applying polish – then use an anti-yellowing base coat or do you have ridges – then use a ridge filling product.
Nail Polish ~ Once you have completed all of the above you can either leave your nails looking natural or apply your favourite polish and a top coat. I will touch a bit more on polish application in a future post.
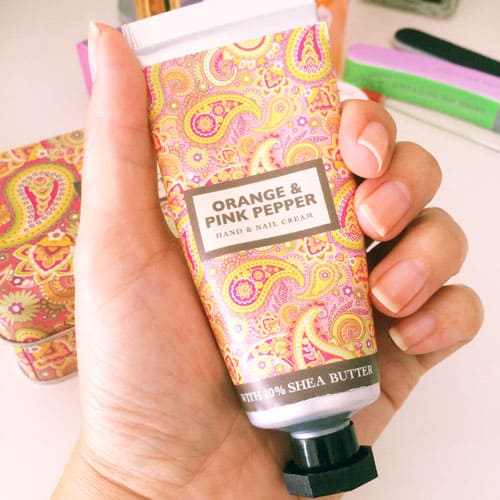
Hand Cream ~ Last but certainly not least apply a good quality hand cream. I like to reply hand cream a few times during the day and find it helpful to keep one in my hand bag. If you are driving or spending time in the sun, then it is advisable to use a sunblock on your hands as well.
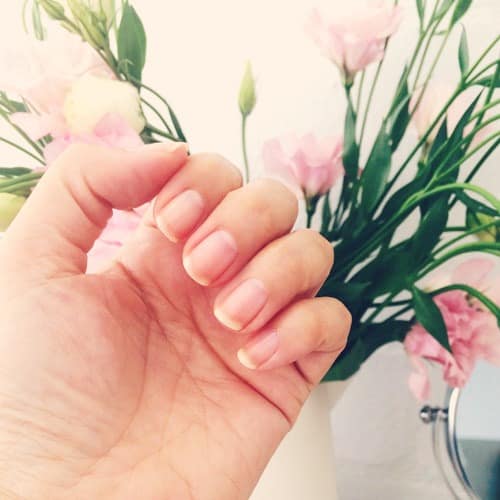
{Please excuse how yellow my nails are looking at the moment! They have actually improved quite a bit after being in nail polish detox, for the past two weeks. They were extremely yellow, after constantly wearing very bright nail polish over the festive season!}
[youtube]http://youtu.be/lcB_eSKxiIg?list=UUCqHeDu6WN0l8K_iiR-1sog[/youtube]
I would love to hear about any of your favourite manicure products or if you have any handy tips to add – please leave a comment below.
Image source: Nail Shapes Visual Guide
Disclosure Ranking:1

Leave a Reply