I am super excited to be able to share one of my first DYI Projects on the blog today, which I did in Collaboration with Builders Warehouse. First to give you a bit of background on the project – after having a few new Kitchen cabinets installed last year, one of my ideas was to incorporate a Framed Chalkboard. Unfortunately, the company doing the installation were not up to scratch, and I eventually had to call it a day, which meant forgoing my chalkboard. So, I decided to make the Chalkboard myself{well with the help of my hubby that is}!
DYI Framed Chalkboard
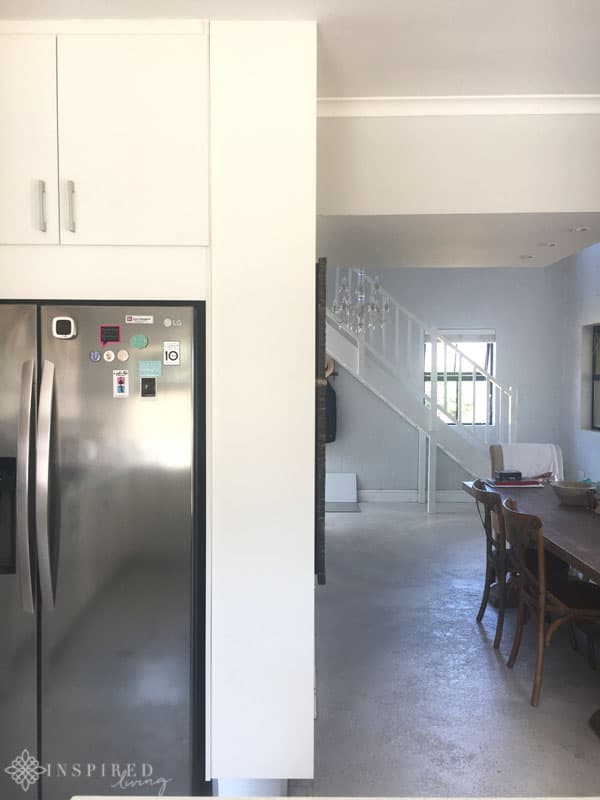
The Framed Chalkboard needed to be long and narrow to fit the space next to the fridge. My first step was to measure the area and draw a rough diagram. Next, I made a list of items we would need to complete the project, which I sourced from Builders Warehouse.
Materials You Will Need
Plywood (Masonite) – cut to size
Timber Quadrant (for the frame) – cut to size
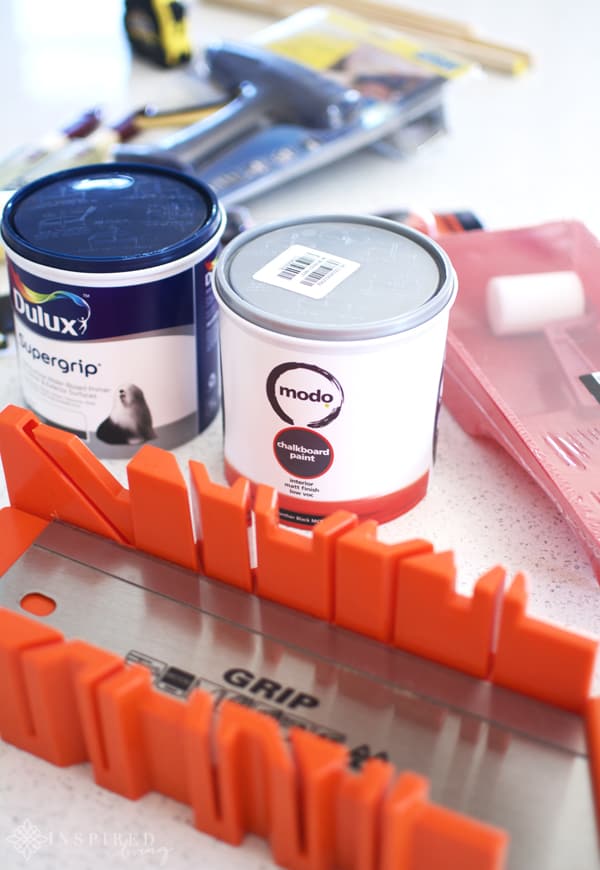
Primer
Chalkboard Paint
White Paint
Screws
Thin Nails
Wood Glue
Tools You Will Need
Saw
Hammer
Glue Gun
Paint Brushes
Foam Roller
Method
As I mentioned we sourced our materials from Builders, including the masonite board and quadrants, which they cut to size for me. The staff at the store were extremely helpful, particularly the assistant who helped me with my paint selection. Something to keep in mind, if you are getting a piece of board cut as large as this make sure it will fit in your vehicle!

Once back at DIY headquarters, the first step was to drill four pilot holes in the board to make it easier to attach to the cupboard once painted. Next, I primed the board using Dulux Supergrip, which helps the Chalkboard Paint adhere properly to the surface. We chose an exceptionally hot day to work on the project, which meant the primer was dry in no time at all. Once dried we applied three coats of the chalkboard paint, waiting at least an hour between applications. While we left the board to dry, we began work on the timber quadrants, which made up the frame. Although Builders had cut the lengths, we needed to cut the angles so that the frame could fit together neatly.
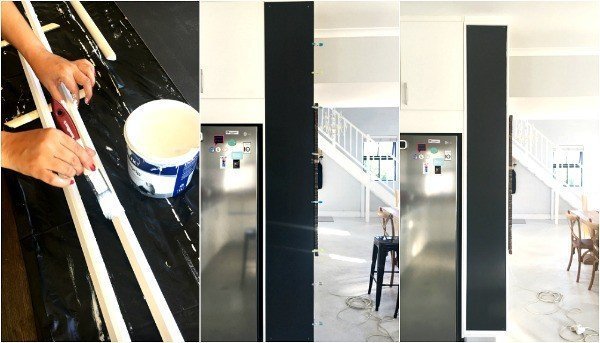
The next step was to prime and paint the frame. We then began the assembly by first applying wood glue to the cupboard and then attaching the chalkboard, using the holes made earlier to screw it in. Our final step was to attach the frame, which was probably the most difficult part. It was quite tricky to ensure everything was level before we applied the glue and nails to secure it. An alternative method is first to attach the frame to the board, using a nail-gun, before fastening it to the cupboard.
Seasoning the Board
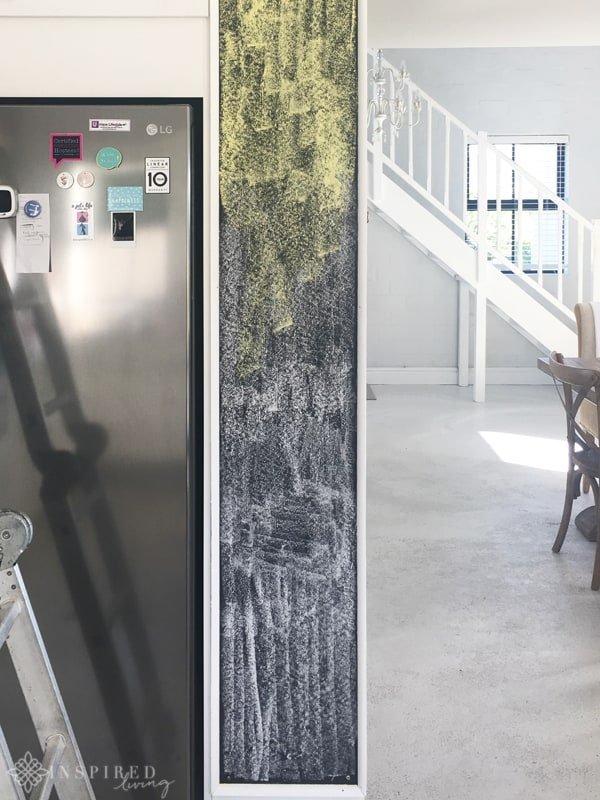
It is recommended to only write on the chalkboard after three days to allow it to dry completely. After waiting patiently for the allotted three days, we seasoned the board by covering it entirely in chalk. You then need to wipe it clean with a soft cloth before writing on it for the first time. This process helps avoid ghost lines.
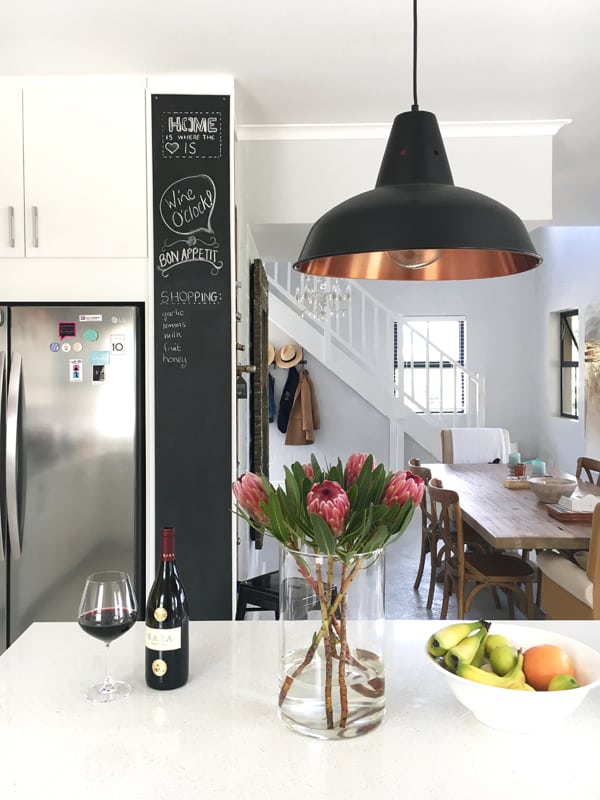
The Result
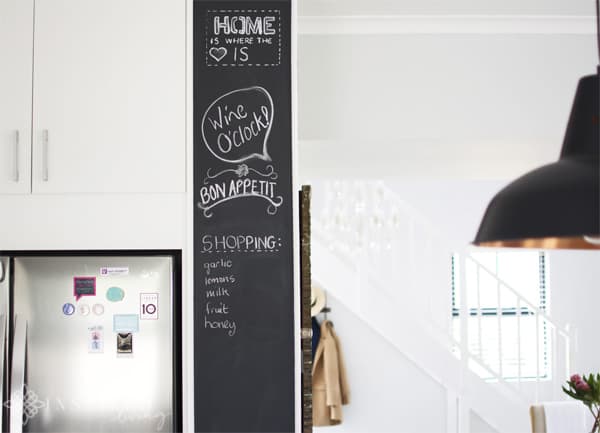
I love my new Framed Chalkboard and think it works very well in the space! It is perfect to leave each other notes, write inspirational quotes and make shopping or to-do lists.
The DIY bug has officially bitten, and I am super keen to start my next project. What do you think of the result? I would love to hear your thoughts, or if you have any questions, please leave a comment below.
Disclosure: This post was written in collaboration with and sponsored by Builders Warehouse, but all opinions and images are my own. To see more, read our full PR & Disclosure Policy below.

What a lovilee DIY and result!
Your DIY Framed Chalkboard is awesome. Thanks for sharing, it is great step by step tutorial to get it done.
Great article. Couldn’t be write much better!
Keep it up
This DIY definitely needs a try out and your step by step explanation of the process just makes it seem easy to try and my mom loves chalk boards. So, thank you sharing such detailed DIY for chalk board.
This DIY chalk board is definitely worth a try out and your step by step explanation of the process just makes it seem easy to try and my mom loves chalk boards. So, thank you sharing such detailed DIY for chalk board.